
The following article will show you how to how setup your WebSmith Cloud Email account with Entourage:
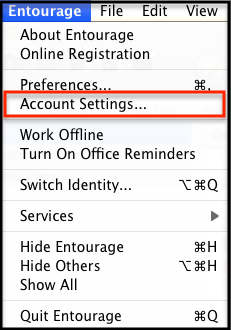
1. Open up Enoturage and select Entourage on the left hand corner, then select Account Settings and select the New button.
2. Next, you’ll click the Account type drop-down menu and select IMAP.

3. Next, click the OK button and on the Edit Account screen, perform the following steps:
Account Name – Enter a descriptive name for the account.
Name – This is the name that will appear in the From field of messages you send.
E-mail address – Enter in your entire email address (e.g. [email protected]).
Account ID – Enter in your entire email address (e.g. [email protected]).
IMAP server – Enter the secure server name: secure.emailsrvr.com
Password – Enter the password for your email account.
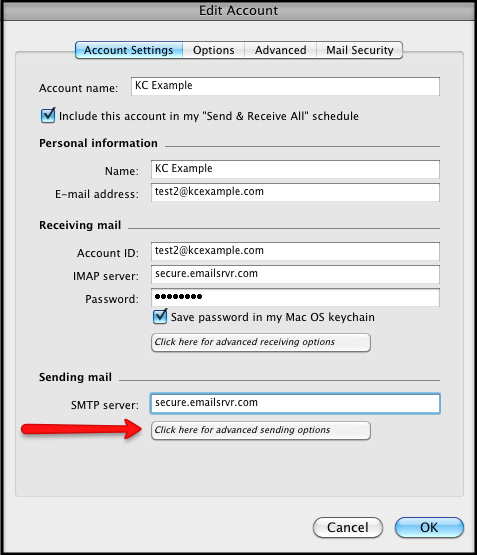
4. Select the Click here for advanced receiving options button, located below the IMAP server box and in the pop-up screen, perform the following:
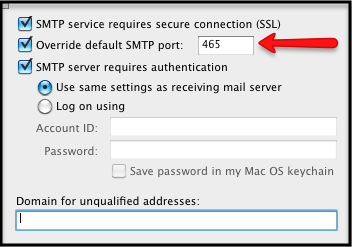
Check the SMTP service requires a secure connection (SSL) box.
Check the Override default SMTP port and be sure to implement 465 in the box.
Check the SMTP server requires authentication and leave the “Use the same settings as receiving mail server selected.”Leave the “domain for unqualified addresses” box blank.
5. Click the tiny box in the upper left corner then click the OK button and you’re finished!
Note: If you’ve created any new folders through webmail and they aren’t displaying, right-click on your Inbox or top level folder of
your WebSmith email account and select Update Folder List.